

How To Make Your Own Lightbox For Drawing
How To Build A Quick DIY Low-cal Box
Brand this perfect light box for sketching in an afternoon. The best part is you don't have to do any electric piece of work, considering it works with off-the-shelf LED strips. Learn how to make a light box for tracing with these easy to follow plans.
![]() Time
Time
A few hours
![]() Complexity
Complexity
Beginner
Introduction
With simply a couple hours, some 1x4, one/4-in. plywood, some plexiglas, and a cheap LED light strip, you can take a homemade light box for tracing and fine art projects. Permit's get started!
Tools Required
Materials Required
- ane/four-in. Plywood (2 x iv ft.)
- 1x4 board (8 ft.)
- Foil tape
- Frosted Plexiglas (18 x 24 in.)
- Plug-In LED Tape Light (ten ft.)
Cut List

Project step-by-step (7)
Step one
Rip dadoes into the sides

Cut 3/8-in. dadoes into 1x4 stock, 1/4-in. from each border.
Step ii
Cut sides to length
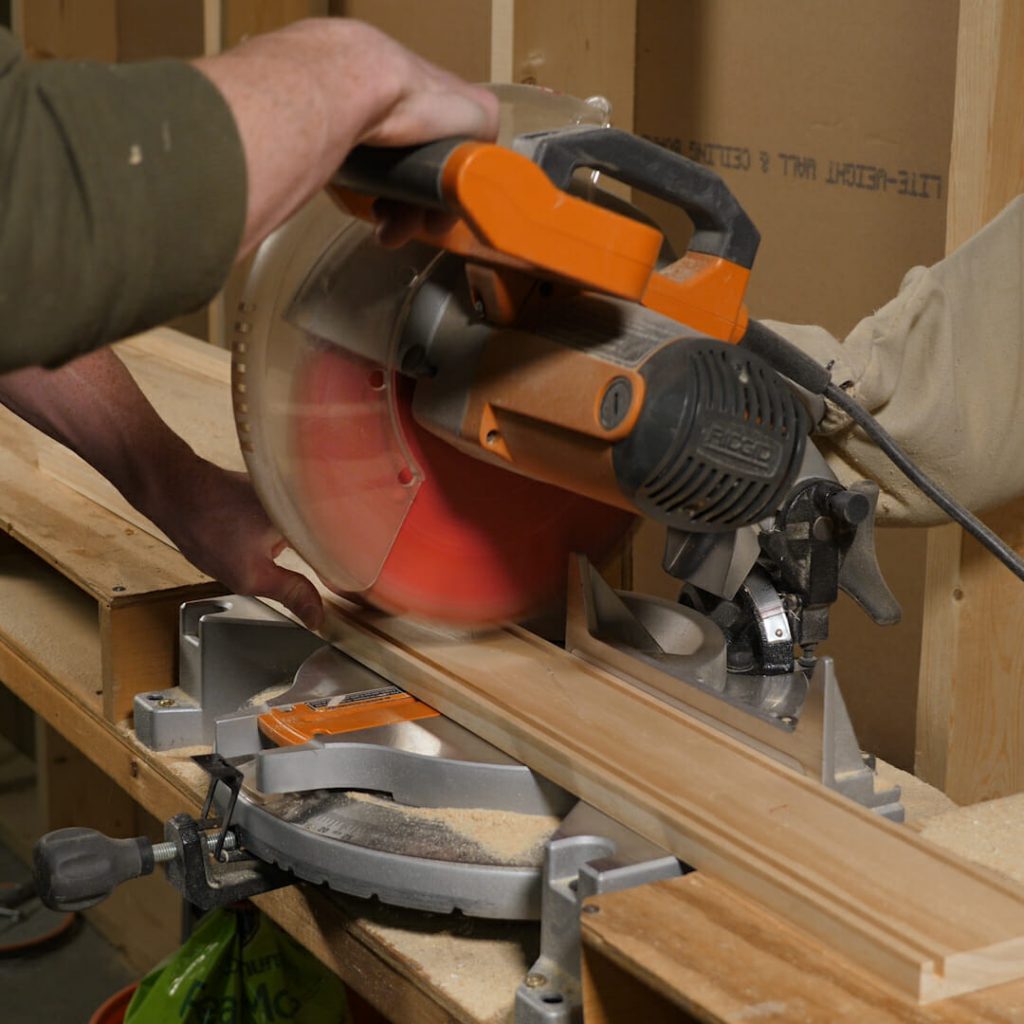
Cut the 1x4 lath into two 24-three/4-in.-long boards and ii 17-one/4-in. long boards. Cutting the ¼-in. plywood to 18x24 in.
![]()
Step 3
Create a reflective surface
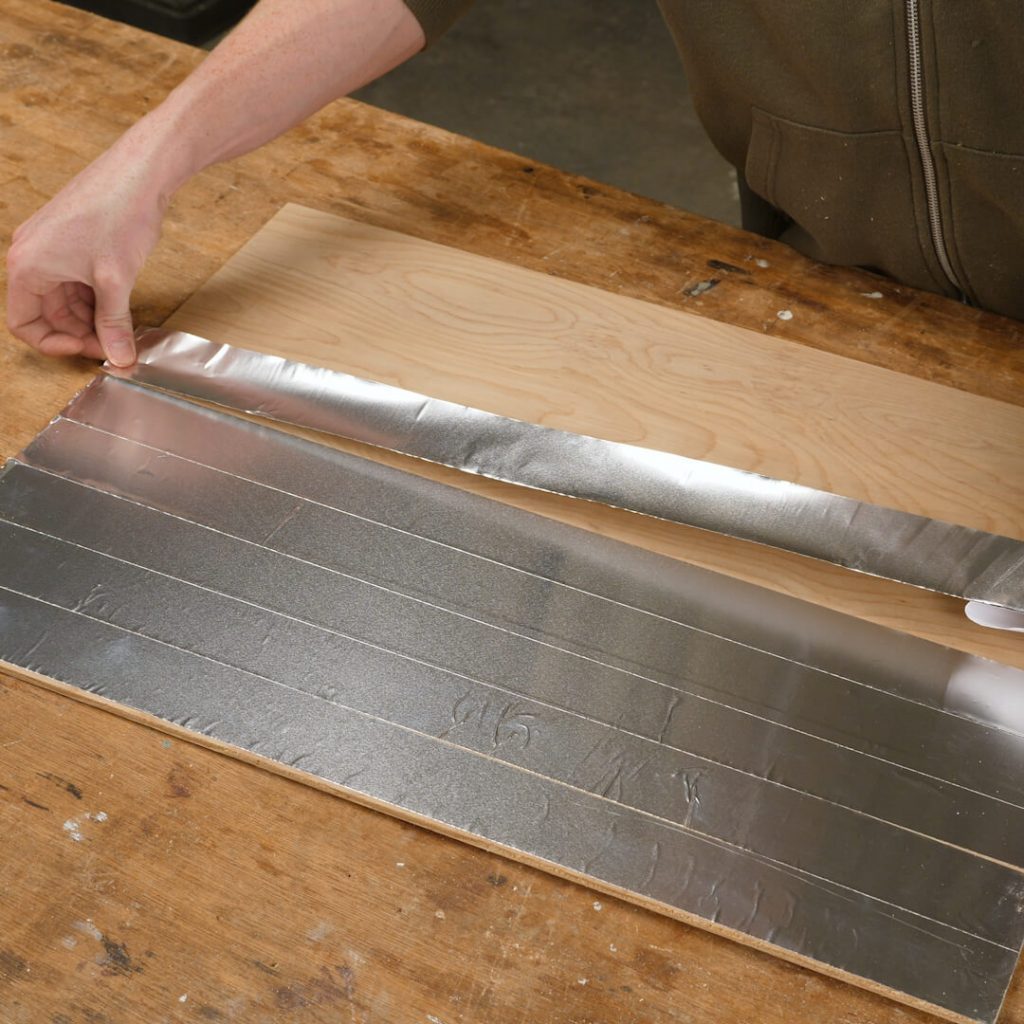
Adhere the foil tape to the interior of the side boards and plywood.
Pace four
Drill the string hole
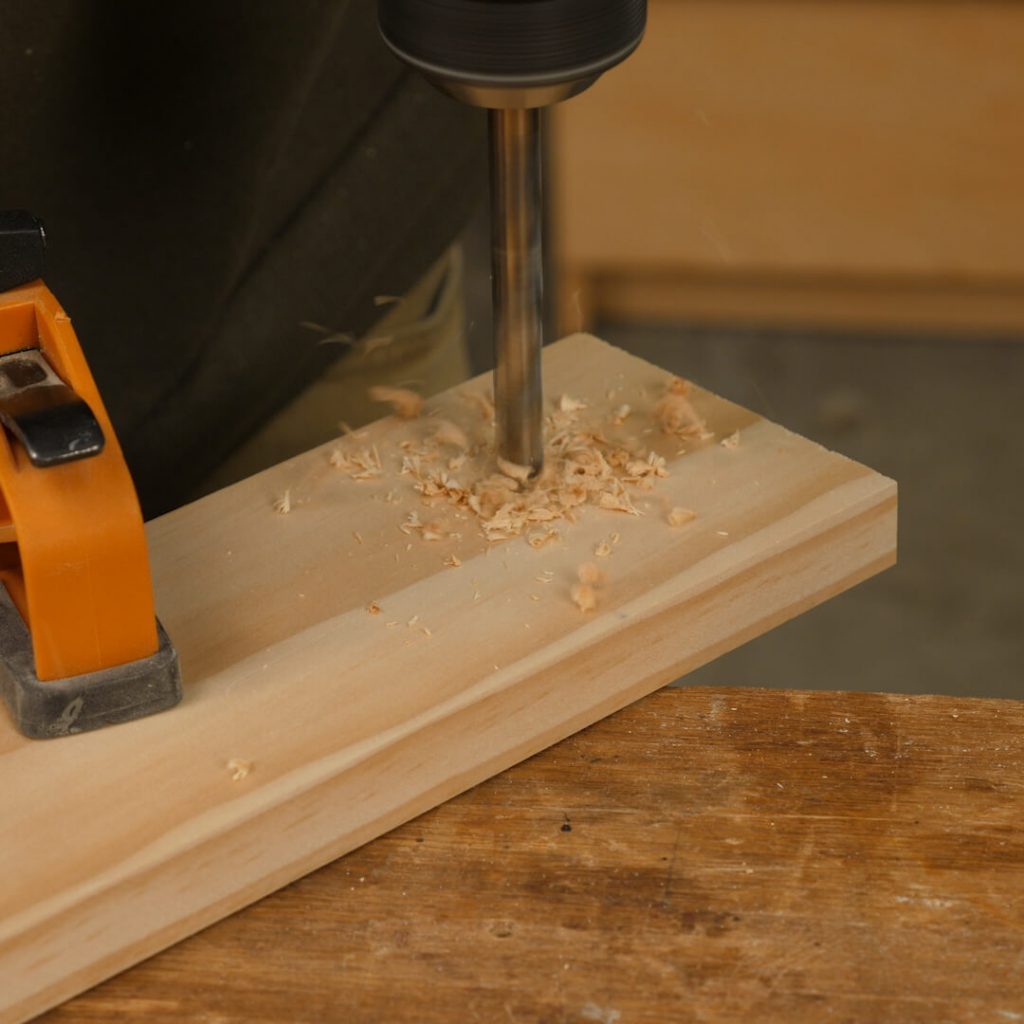
Drill a one/2-in. hole, 2 in. from the cease of one of the long sides, to feed the ability cord out.
Footstep 6
Cord the lights
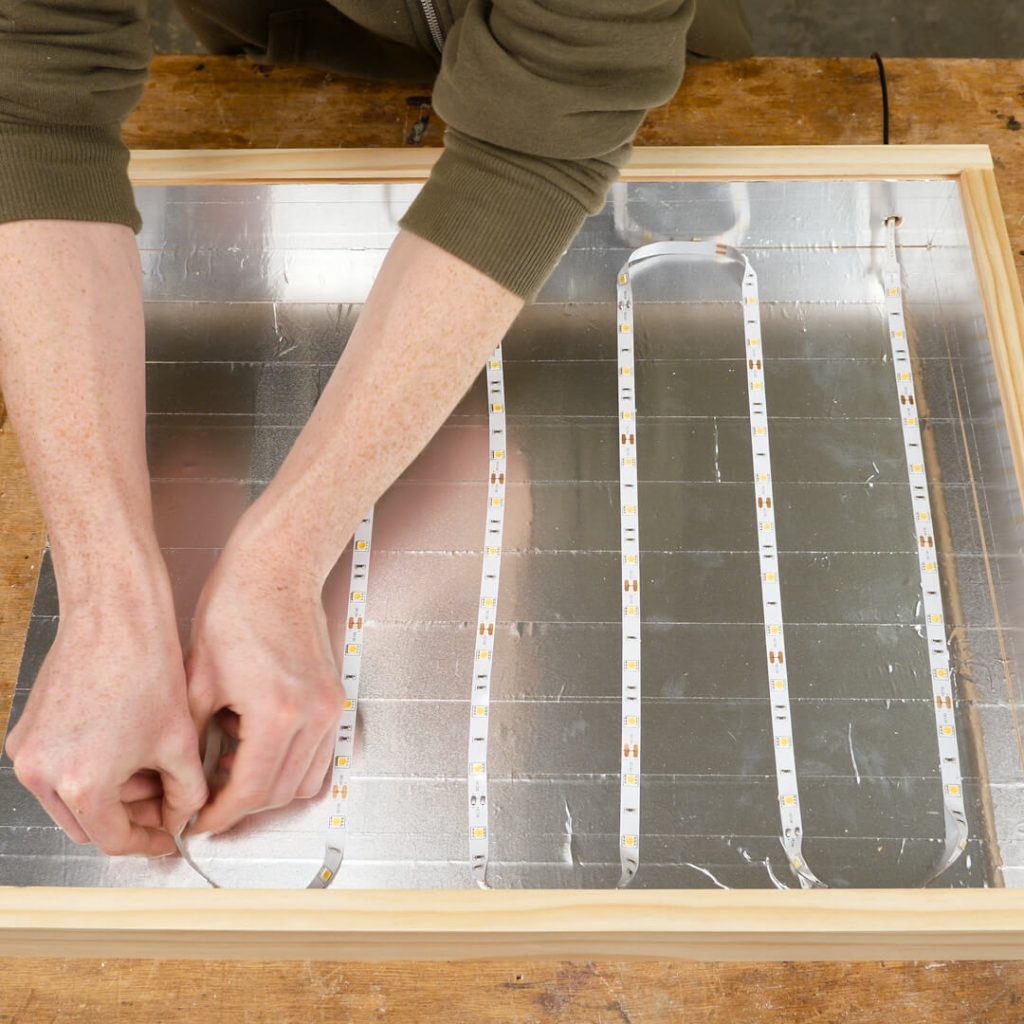
Tape downwardly the LED lights to the plywood lesser and feed the finish through the 1/2-in. hole in the side.
Step vii
Add the frosted plexiglas
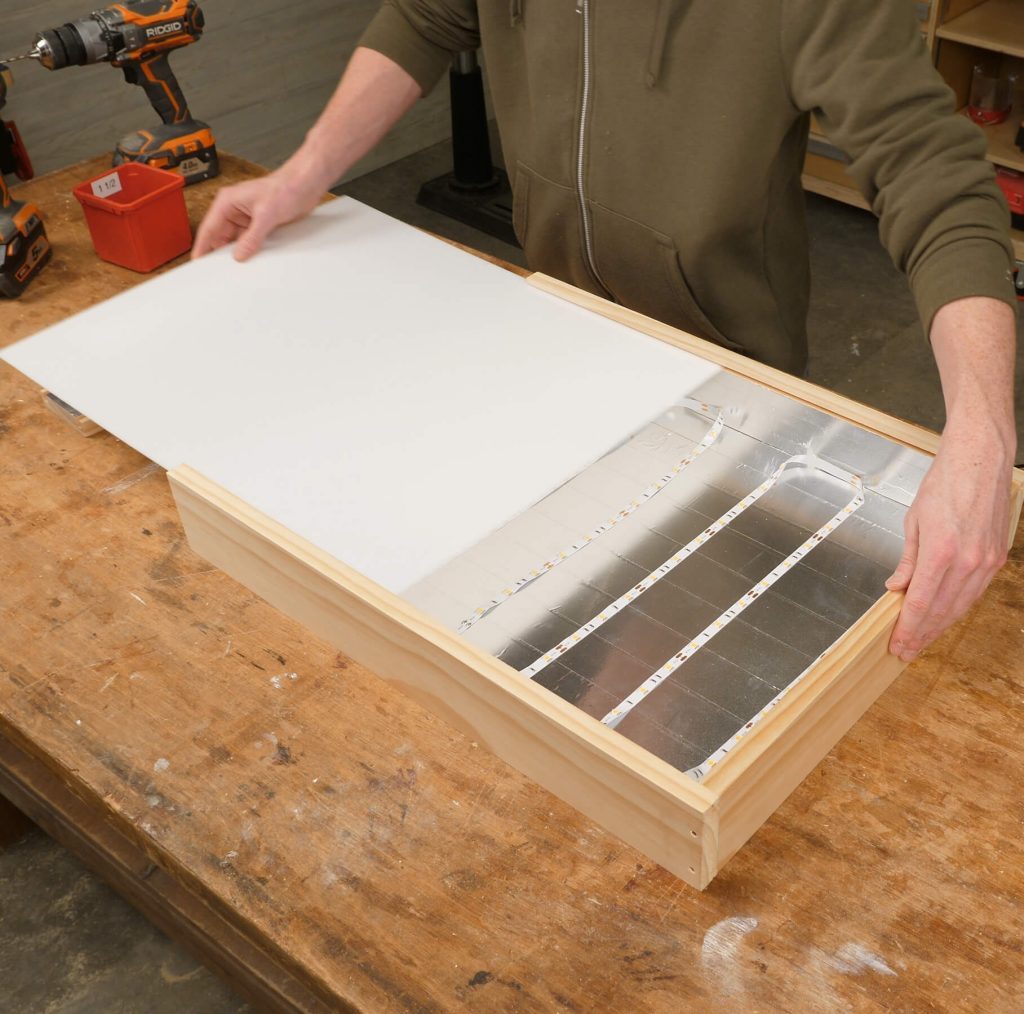
Slide in the frosted glass and spike the final side with screws. Start tracing!

Source: https://www.familyhandyman.com/project/quick-diy-light-box/
Posted by: adamsfirwass66.blogspot.com
0 Response to "How To Make Your Own Lightbox For Drawing"
Post a Comment